NCache OSS Deployment in a Cloud Environment
In leading marketplaces like Azure and AWS, the NCache Open Source image is available as a virtual machine that uses the BYOL licensing model. This guide explains the deployment of your NCache servers through each marketplace.
Important
If you only need to know how to register NCache OSS, click here.
Note
You can also access this image through the Alachisoft Website.
Navigating the Azure Marketplace
In order to deploy and use NCache servers in the Azure environment, you need to host NCache cloud images from the Azure marketplace.
Go to Azure portal from Azure Portal and sign in with your account.
In Azure Marketplace, search for NCache and select NCache Open Source.
Choose the appropriate image which will lead you to the following screen.
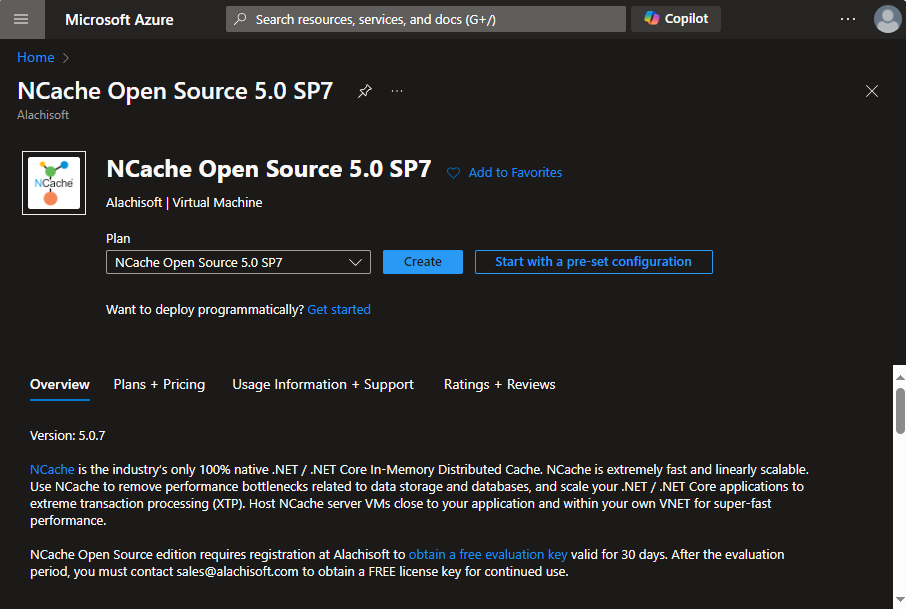
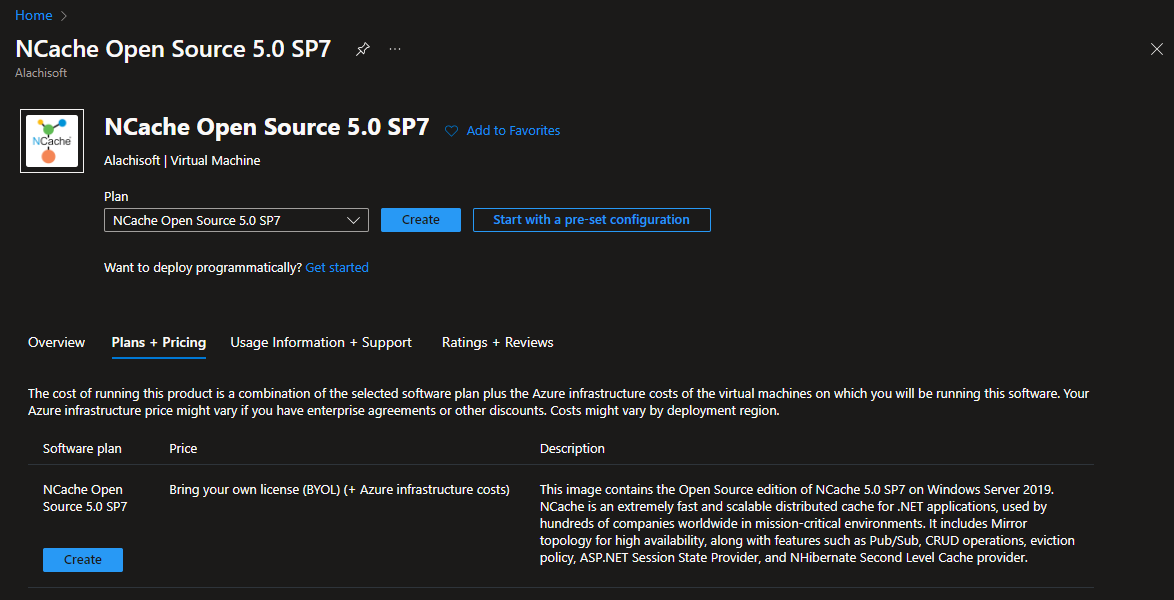
- From here you can view the available Plans + Pricing and know about our latest offers as shown below. Click on Create.
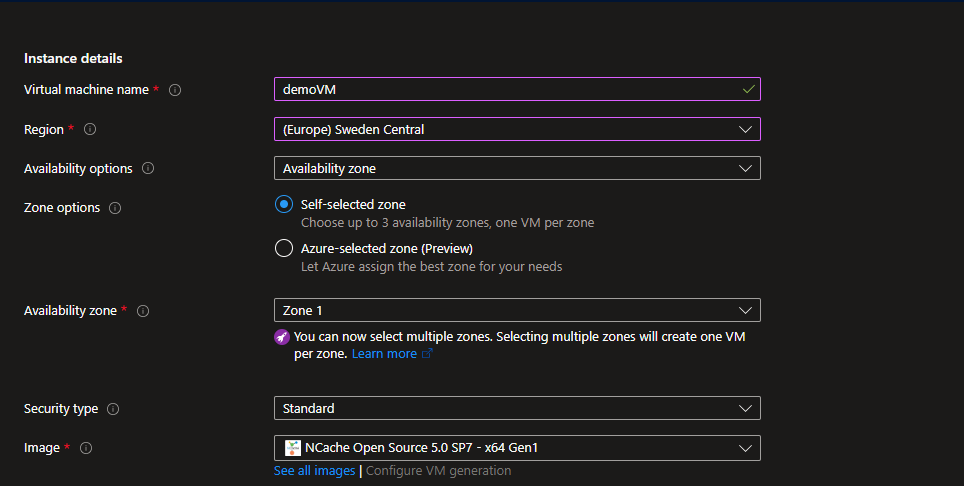
- This opens up the Create a virtual machine page where you need to fill in the Instance Details form to deploy a virtual machine with NCache in it. After completing the form, click on Review + Create. This process will take some time to create your virtual machine running NCache in it. Once done, go to the deployed VM.
- From the leftmost bar, go to Connect. Click on Download RDP File to download the link to your virtual machine.
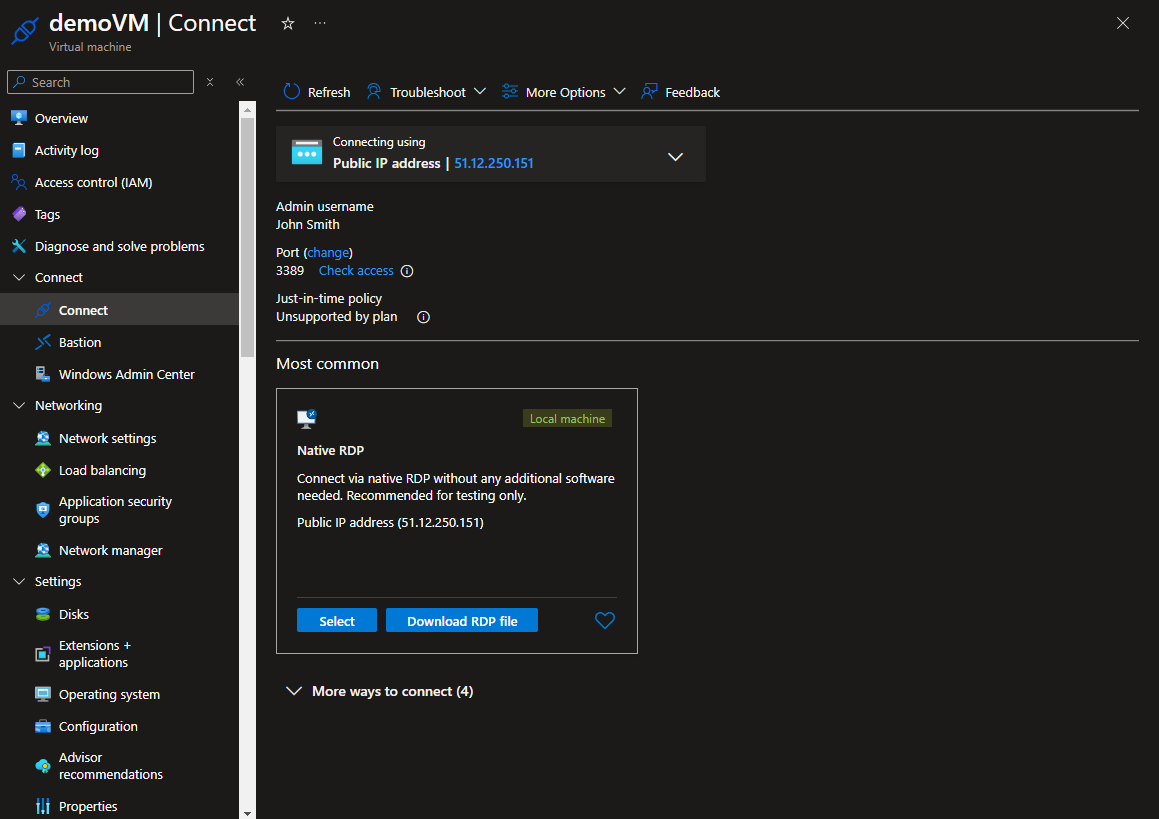
Once downloaded, connect to the virtual machine created for the cache server using the credentials provided in the form filled earlier.
You have to activate NCache on your deployed machine otherwise you will not be able to use NCache.
Navigating the AWS Marketplace
In order to deploy and use NCache servers in the Amazon environment, you need to host NCache cloud images from the AWS marketplace.
Sign in to the Amazon AWS Console with your work email.
From the All Services section, choose EC2.
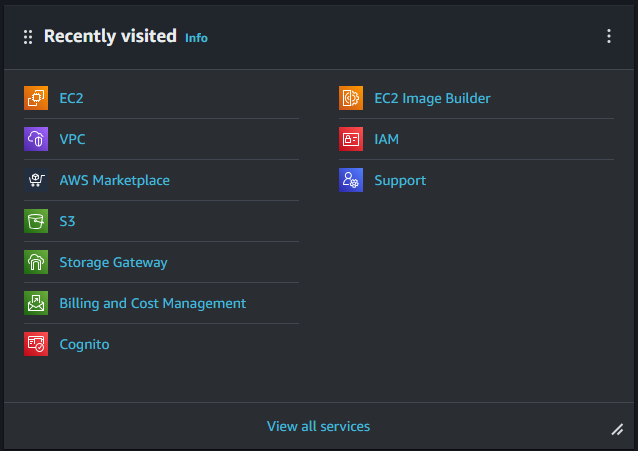
Go to the Launch Instance section and select Launch Instance from the drop down menu.
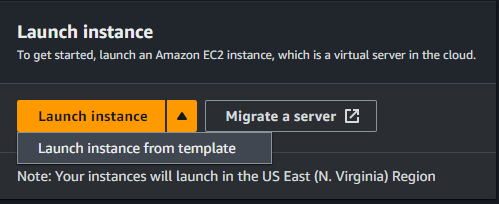
On launching an instance, a new page is opened. Click on the search bar and search NCache Open Source.
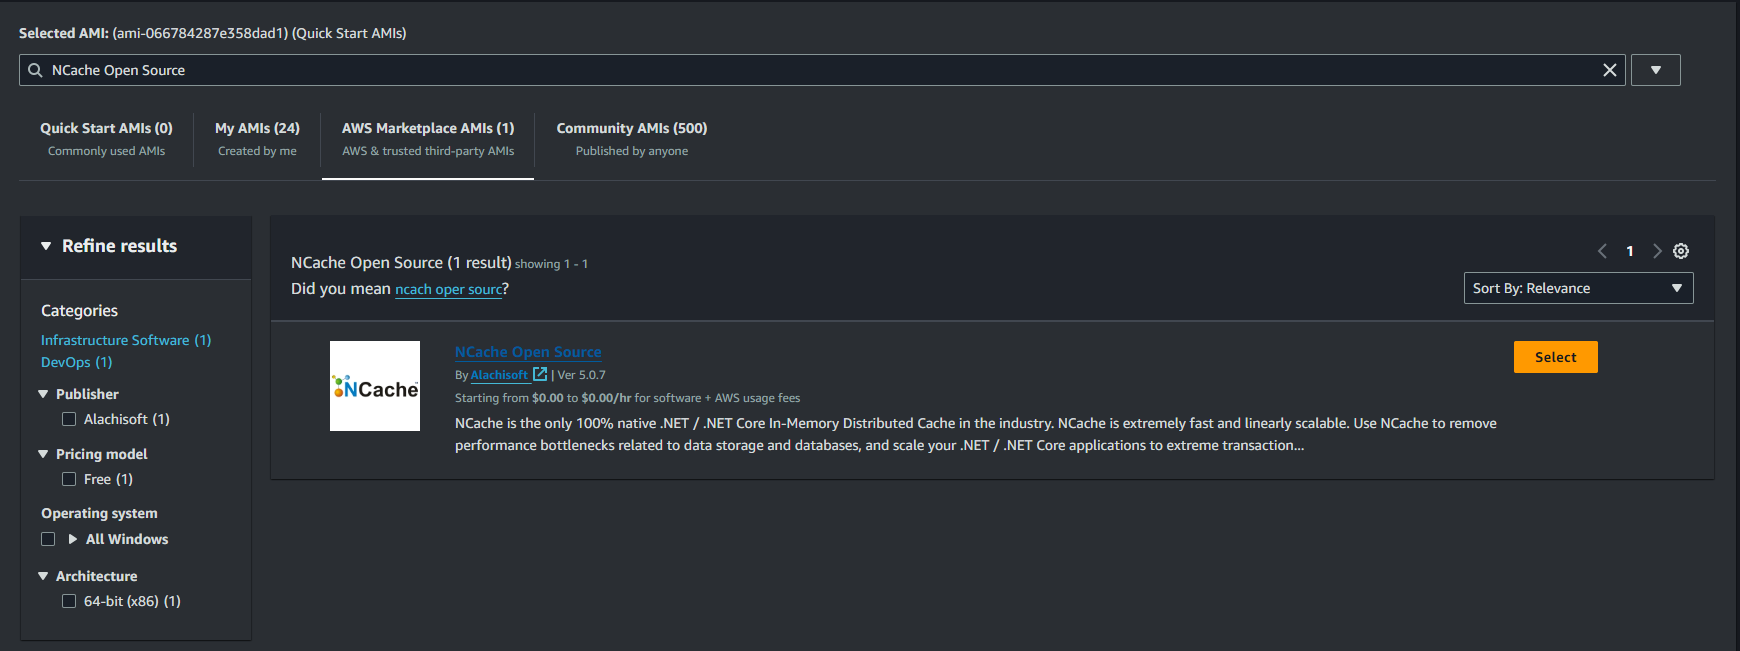
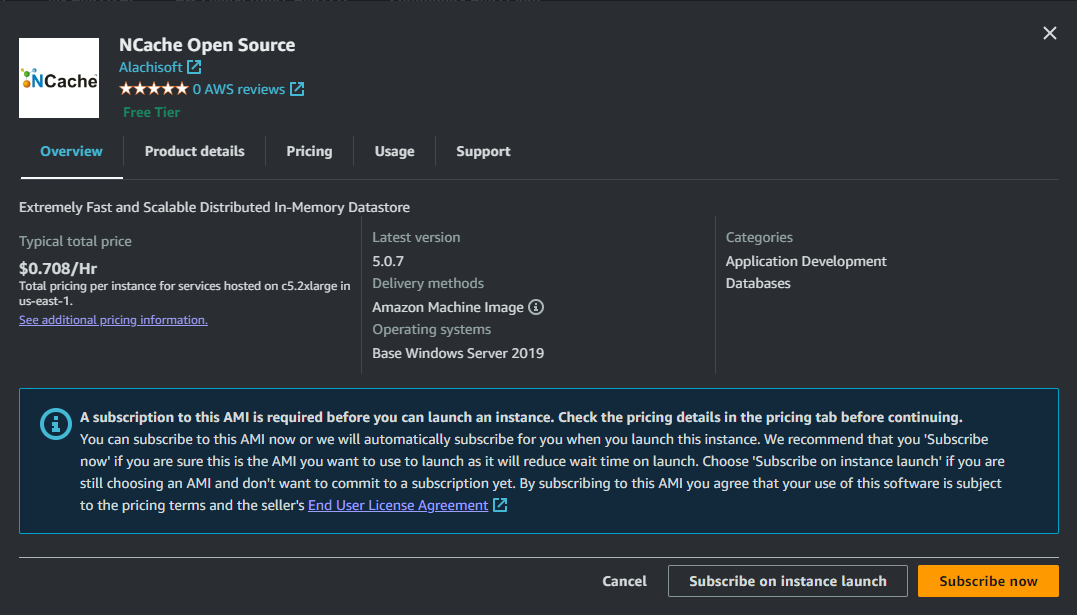
On clicking Select, you get the pricing details and product description on the page opened. Click on Subscribe on instance launch or Subscribe Now.
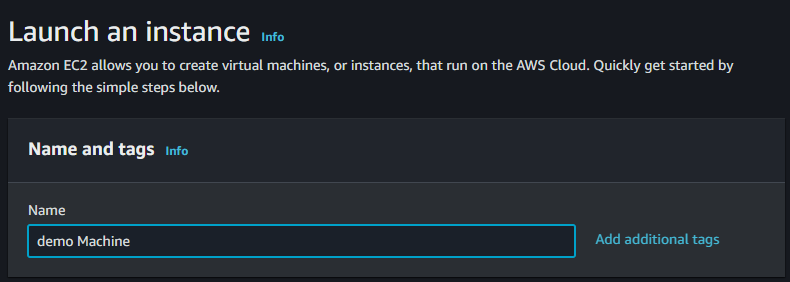
In the resulting page, specify a machine name under the Name and tags section.
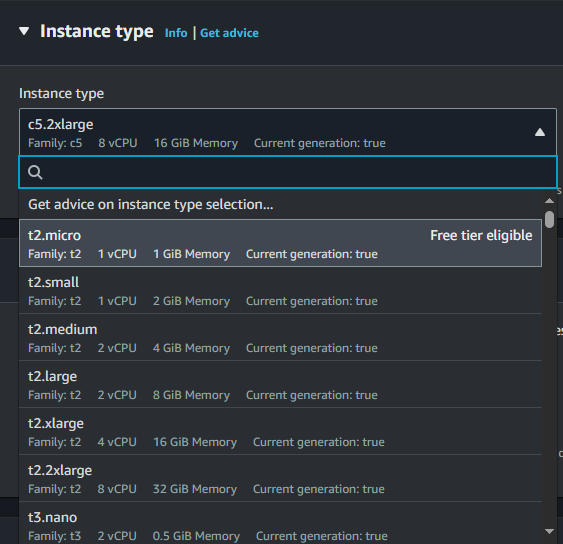
Now choose your desired machine or instance types. The following image shows a list of supported Instance Types. We are proceeding with a t2.large instance type.
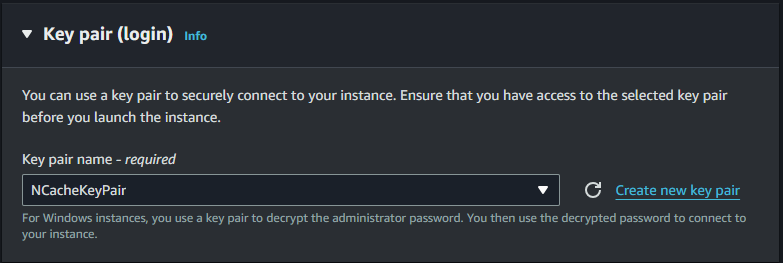
After which you will have to enter you Key Pair Name in the Key pair (login) section.
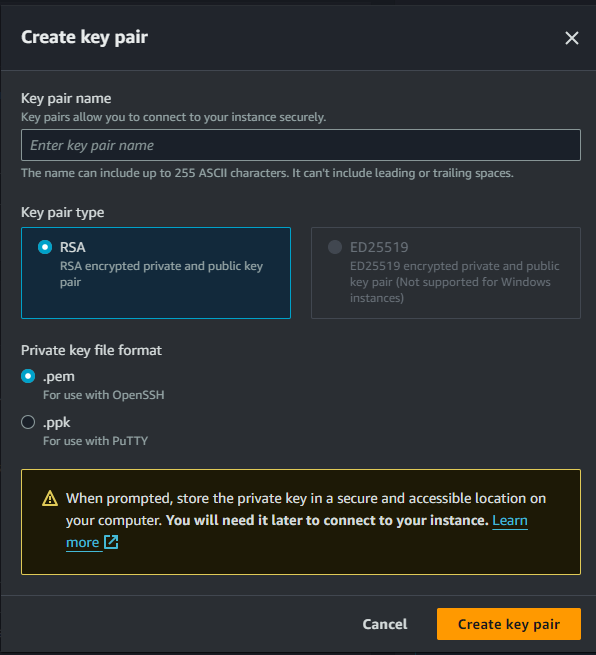
You can also Create new key pair. Click on Create new key pair, Enter Name, Select Format, and click on Create Key Pair.
Click on Configure Security Group. Select the security group and add rules to allow specific traffic to reach your instance.
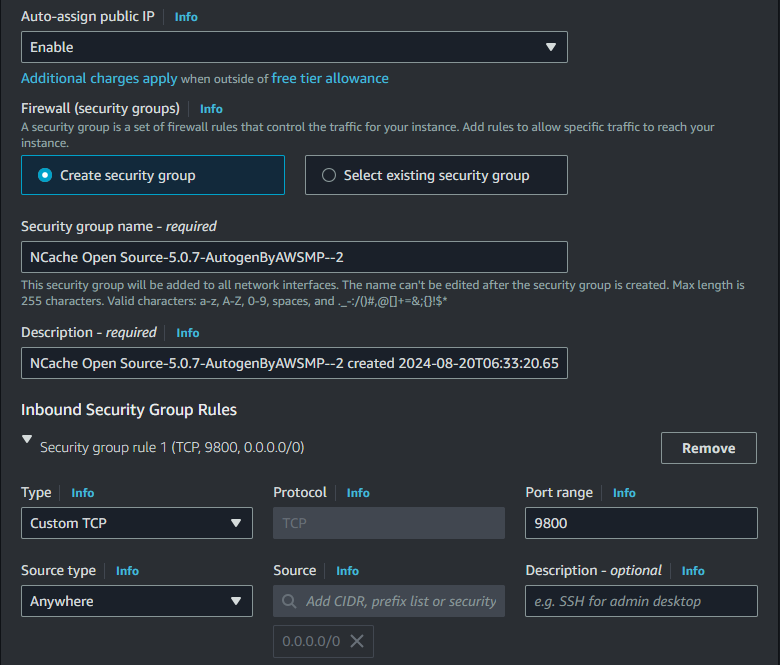
Security group rule 2 Port Range 8250 is added by default.

Similarly, security group rule 3 Port Range 7800-7900 is added by default.

Configure the storage details according to your requirements and click on Configure Storage. By default, gp2 is selected. To enhance storage, you can select Magnetic (standard) from the dropdown list.
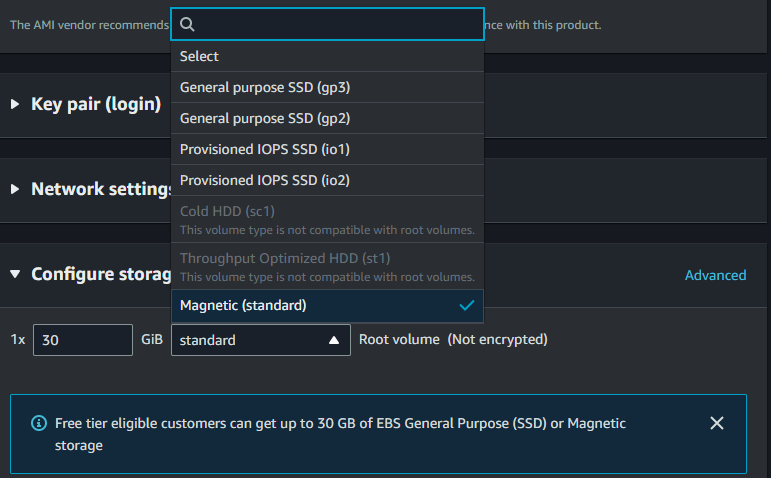
Click on the Launch Instance button in the Summary section and proceed.

Select the instance id from the resulting page as demonstrated below.
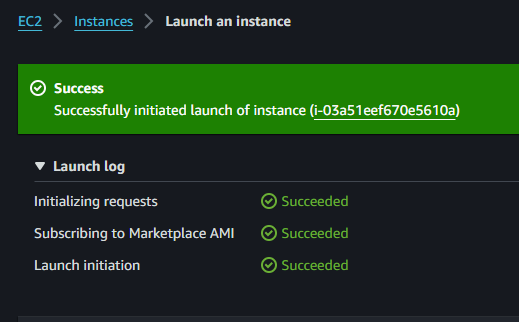
Note
Your instance may take some time to start running.
Click on the View Instances button at the bottom to view your deployed instances.

Select your instance and click on the Connect button once your instance is created and running. It gives you the prompt below. Go to RDP Client and Click on Download remote desktop file:
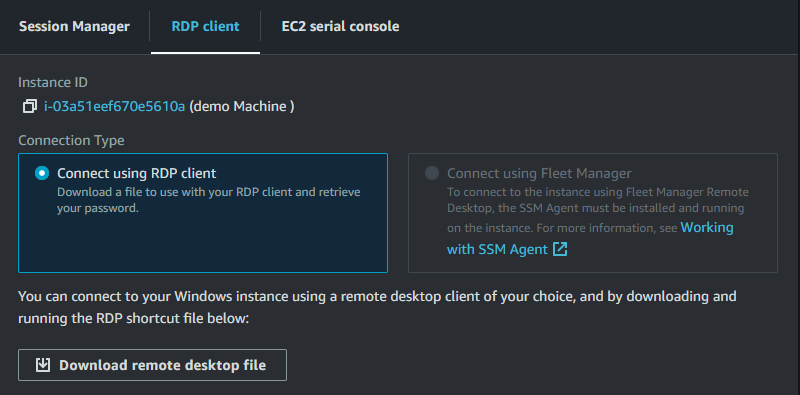
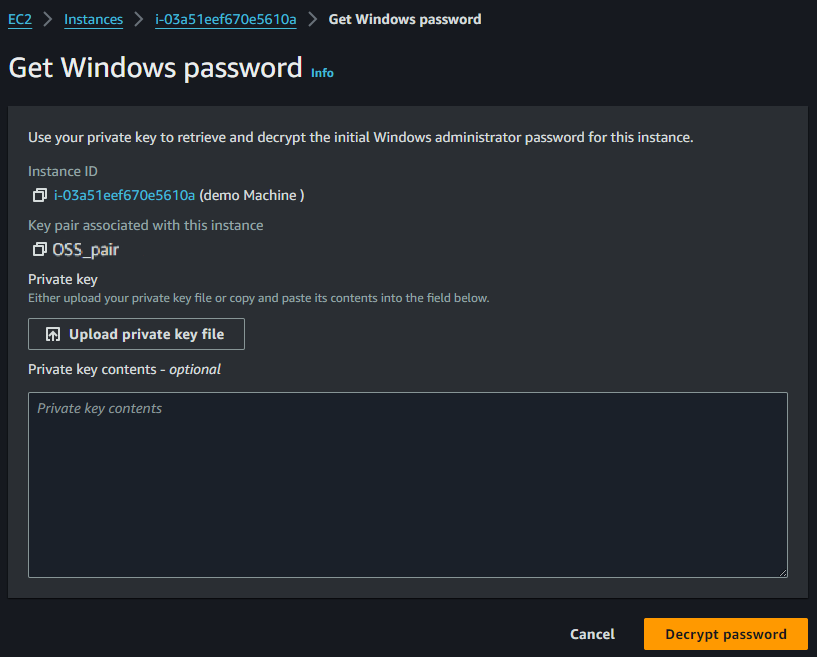
Click on Get Windows Password to retrieve the password associated with that instance. Copy and paste the contents from the downloaded file and click on Decrypt password.
Login with your credentials to access the remote machine.
You have to activate NCache on your deployed machine otherwise you will not be able to use NCache.
Register with NCache
Once your machine is connected,you will need to register it. In this case you can oopt for a FREE 30-day evaluation or contact Alachisoft Sales, procure a license and activate it.
Important
You will only be able to use NCache once your machine is either registered for a free evaluation or activated with a license key.
If you are opting for the evaluation you need to run the following command on PowerShell:
Register-NCacheEvaluation -Key xxxxxxxxxxxxxxxxxxxxxxxxxxxxxxxx -FirstName John -LastName Smith -Email john@yourdomain.com -Company your_company_name
Note
No extension in evaluation period is available for NCache OSS.
Warning
NCache will stop functioning at the end of the evaluation period.
If you opt to activate your license after obtaining a license key from Alachisoft Sales, run the following command on PowerShell:
Register-NCache -Key xxxxxxxxx-xxxxxx-xxxxxxxx -Environment Production -FirstName John -LastName Smith -Email john@yourdomain.com -Company your_company_name
Verify Registration
In order to verify your registration, run the following command on PowerShell:
Get-NCacheVersion
See Also
Administrators' Guide in Open Source
NCache Deployment in Azure
NCache Deployment in AWS