Getting Started with NCache Cloud in AWS
NCache provides Enterprise and Professional server images on AWS for Windows servers hosted on the Amazon marketplace. In order to deploy and use NCache servers in the Amazon environment, you need to host NCache cloud images from the AWS marketplace. This section guides you through the deployment of NCache servers through the AWS marketplace, registering your machine with NCache, and creating a cache cluster to connect the client applications with it.
Important
NCache Enterprise and Professional are available under the Bring Your Own License (BYOL) model.
Configuration Using Amazon AWS Marketplace
Note
This image is shipped with Windows Server 2019, .NET Framework 4.8 and .NET 6.0.
Sign in to the Amazon AWS Console with your work email.
From the All services section, choose EC2.

- Go to the Launch instance section and select Launch instance.

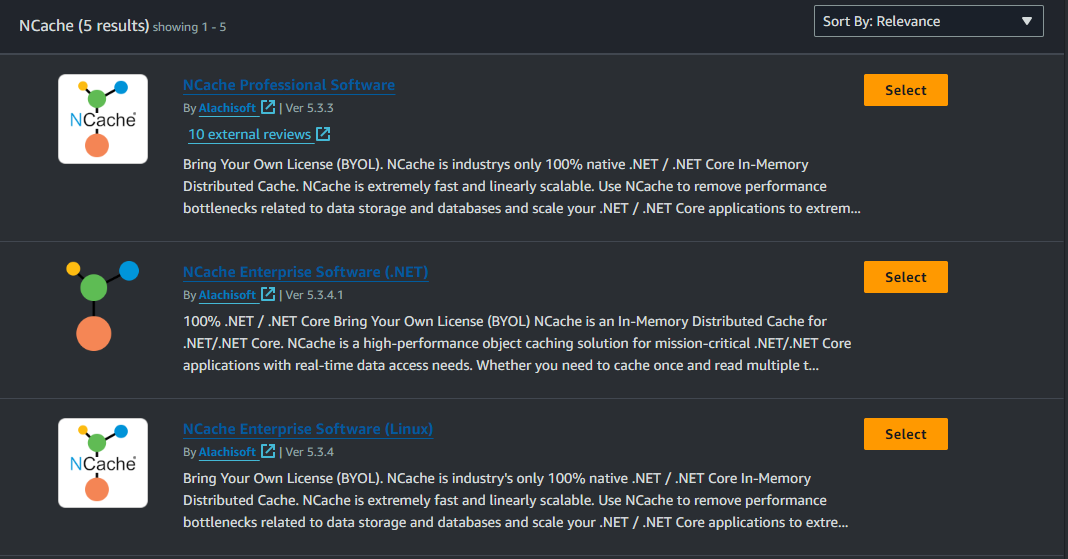
- On launching an instance, a new page is opened. Click on the search bar and search NCache.

- From the AWS Marketplace, click on either the NCache Enterprise Software or NCache Professional Software based on your requirements. Here, we will proceed with NCache Enterprise Software (.NET).

Note
To use Linux Image, deploy NCache Enterprise Software (Linux).
- On clicking Select, the pricing details and product description page opens. Click on Subscribe now.

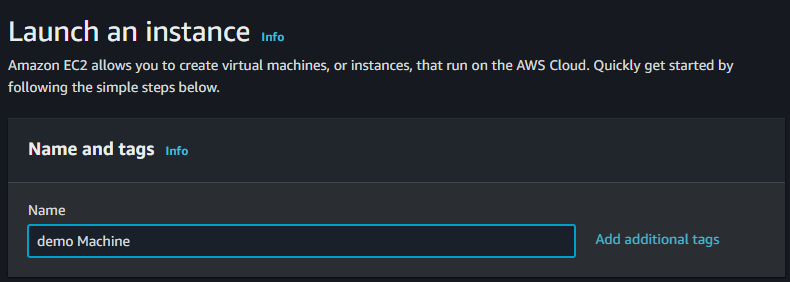
- Now you can see the Launch an instance page. In the Name and tags section, write your machine name.

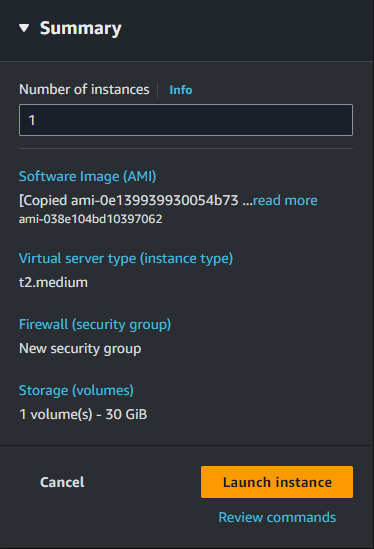
- Next, choose your desired machine type based on your usage. The recommended machine type is c5.2xlarge from the General Purpose family.

- Move to the next section i.e., Key pair (login) to select or create a key pair. Enter your key pair name, if you already have one.

- You can also create a new key pair by clicking the Create new key pair present on the Key pair (login) screen. A Create key pair screen opens. Enter key pair name, select Key pair type and Private key file format. Click on Create Key Pair. It will download automatically upon creation which you can use to retrieve and decrypt the password in the further steps.

- Scroll down on the same page to select the security group and add rules to allow specific traffic to reach your instance. The Auto-assign public IP is set to Disable by default. You need to Enable it from the dropdown to allow RDP.

- The following Inbound Security Group Rules are added by default. To learn more about these and some other additional ports, refer to the Firewall and Ports documentation. Additionally, to enable RDP access to the machine, you'll need to add a security group rule allowing port 3389 by clicking on Add security group rule.

- Configure the storage details according to your requirements present in the Configure Storage section. By default, General Purpose SSD (gp2) is selected. To enhance storage, you can select Magnetic (standard) from the dropdown list.

- Click on the Launch instance button and your instance will be created.

- Select the instance and click either on Connect from the top bar or the Instance ID. Ensure that your status check indicates passed.

Note
Your instance may take some time to start running. You can click on the View Instances button at the bottom to view your deployed instances.
- The Connect to instance screen appears. From the top, choose the RDP client tab. Select Connect using RDP client and then click on Download remote desktop file. Next you need to click on Get password to retrieve the password using the key-pair.pem file.

- The Get Windows password screen opens. Copy and paste the contents from the downloaded file and click on Decrypt password. However, you can also upload your private key file by clicking on Upload private key file, which was automatically created and downloaded in the previous steps.

After decrypting the password, the wizard will close. Next, open the previously downloaded RDP file. When prompted, paste the decrypted password as required in the RDP client. Once you've pasted the password, the connection to the remote machine will be established.
Upon successful connection, the NCache Management Center will automatically be launched in the default browser of your machine. Otherwise, you can manually launch the NCache Management Center in your browser by browsing to http://localhost:8251 or
<server-ip>:8251.
Register NCache
NCache provides two ways to register your machine with NCache, one is through the NCache Management Center and the other is through PowerShell cmdlets. Both the methods are explained step-by-step below.
Register through the NCache Management Center
In the NCache Management Center, you will be prompted with the Your machine is not registered window. To use NCache, you first need to register your machine. You can either register for a free evaluation by selecting Start Free Trial or activate NCache by selecting Activate with License Key. You can also choose to ignore the message for now by clicking on Ask me Later. However, you will not be able to use NCache meanwhile.

Important
In order to use NCache, you need to either register for a free evaluation or activate the license.
Register Using Free Evaluation
If you want to register for a free evaluation, follow these steps.
- Click on Start Free Trial and you will be redirected to the Start NCache Trial page. Provide the free trial activation key that you received from Alachisoft Support along with the user information. Then click Activate.
Note
If you don't have the free trial activation key, you can get it by clicking here.

- On success, you will be prompted with a success notification saying NCache has been successfully registered for Free Evaluation.
Activate with License Key
If you want to activate NCache with a purchased license, follow these steps.
- Click on Activate with License Key and you will be redirected to the Activate License page. Provide the license key that you received from sales@alachisoft.com along with the environment details. Click Next.

- Provide the user credentials for which NCache has been registered and click Activate.

- On success, you will be prompted with a success notification saying NCache has been successfully License Activated.
Register Using PowerShell Cmdlet
You can also activate NCache on your machine by running the following PowerShell cmdlets as an administrator.
Register Using Free Evaluation
The Register-NCacheEvaluation cmdlet registers the NCache image.
Register-NCacheEvaluation -Key xxxxxxxxxxxxxxxxxxxxxxxxxxxxxxxx -FirstName John -LastName Smith -Email john@yourdomain.com -Company your_company_name
Activate with NCache License Key
The Register-NCache cmdlet activates the NCache image.
Important
To get and activate your NCache license, you need to have the license key from sales@alachisoft.com.
Register-NCache -Key xxxxxxxx-xxxxxx-xxxxxxxx -FirstName John -LastName Smith -Email john@yourdomain.com -Company your_company_name -Server 10.2.0.4 -Environment Production
Important
You need to do the registration/activation for all cache servers either through the NCache Management Center or PowerShell.
Verify Machine Registration
To ensure all your machines are registered with NCache, run the Get-NCacheVersion cmdlet as an administrator. It enables users to verify NCache license or evaluation details, displaying the expiration date or an expiration message.
Get-NCacheVersion
See Configure Cache Cluster in AWS to create a running cache cluster inside your AWS VM.
See Also
NCache Deployment in Cloud Environment
Configure Cache Cluster in Cloud
Deploying NCache in Azure